
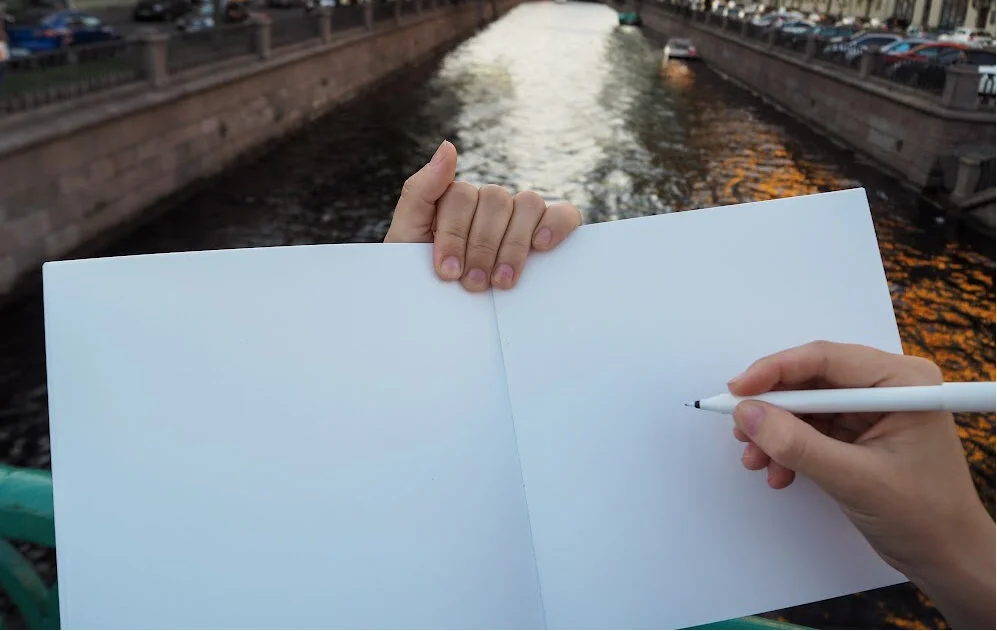
Drawing: A Classical Approach That Surprises Beginners
Think you can't draw?
That’s just a belief.
Just like with mathematics or music, once you learn the language of drawing, anyone can draw!
The method I’m sharing will serve as a solid framework for you, allowing you to create beautiful artwork with any medium—whether oil, watercolor, or acrylic.
Let’s dive into the classical approach!
Drawing! Why?

Drawing is the fastest way to improve your painting skills.
This is because drawing allows you to practice the essential skill of value—lightness and darkness—which is key to creating both good drawings and paintings.
When painting, there are many other things to consider, such as color mixing, edge treatment, and texture. But first, value is the foundation.
Think of piano practice: beginners often practice one hand at a time. Similarly, in painting, it’s easier to focus on one element at a time.
Drawing Materials
The best way to find what works for you is to visit an art supply store and see and feel the materials firsthand. While the brands I recommend aren't essential, you can always choose materials with similar qualities.
Drawing Paper
I use Strathmore 400 series acid-free paper.
Its medium texture and weight (36 kg or 130 g/m²) make it versatile for various projects. It’s also easy to stock different sizes for different needs.
Drawing Pencil
When it comes to drawing pencils, I recommend using ones with fine lead particles. My personal favorites are Staedtler Mars or Faber-Castell.
Feel free to try any materials you're curious about—sometimes you'll be surprised at what works best for you!
The Difference between H and B Pencils

H pencils have harder leads, producing lighter marks
B pencils have softer leads, producing darker marks.
The higher the number next to an H pencil, the lighter it gets. Similarly, the higher the number next to a B pencil, the darker it becomes.
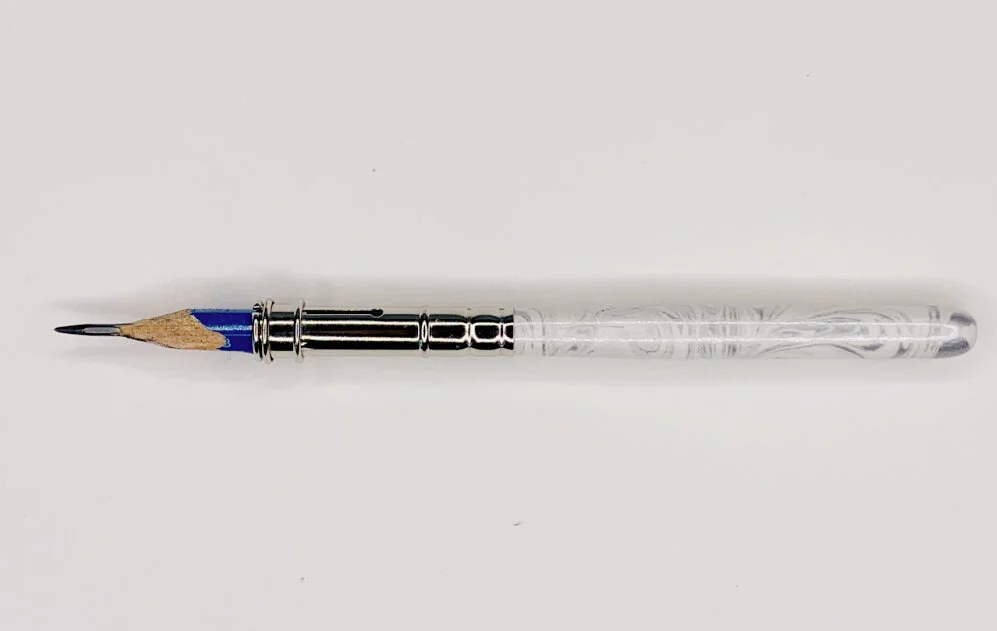
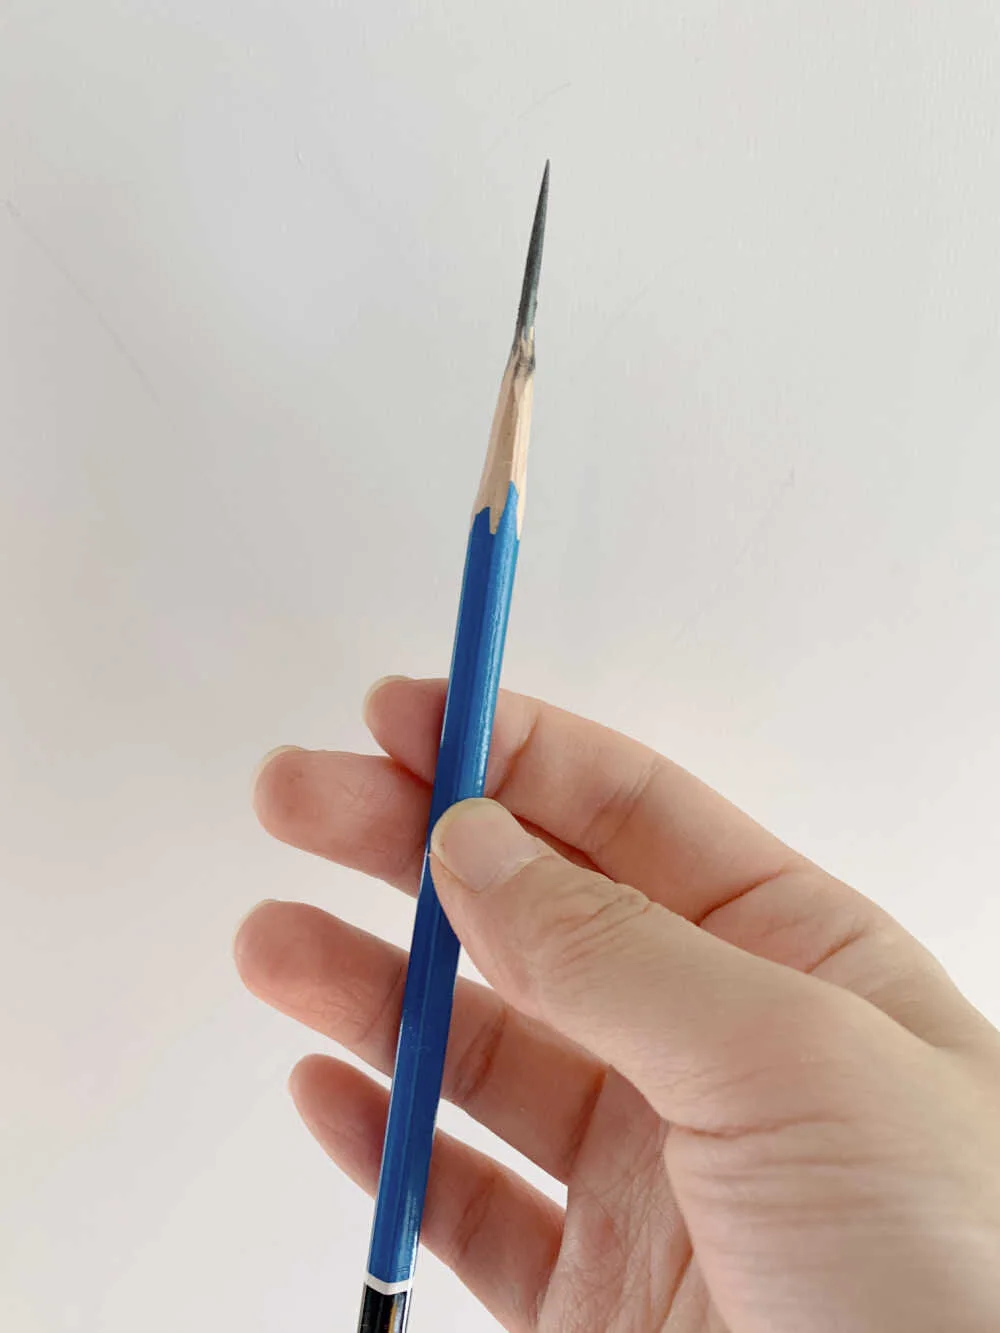
Cutter and Sandpaper: Why Pencil Sharpeners Aren’t Ideal
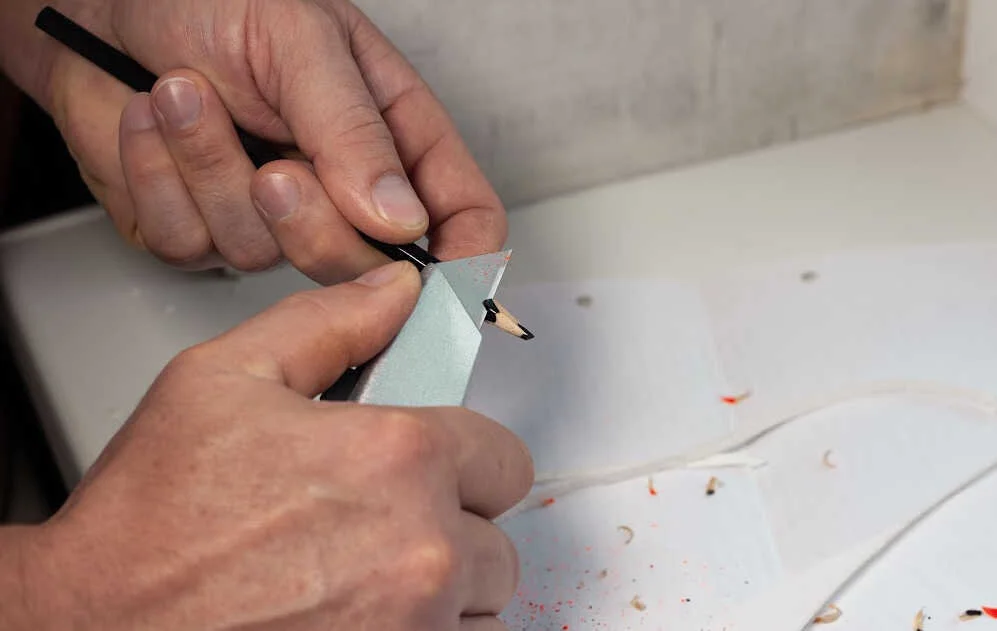
Start by using a cutter to sharpen the pencil, exposing about 1 to 1.5 inches of the lead.
Next, use sandpaper to refine the tip to a needle-like point. I recommend using 240-grit sandpaper. While exact measurements aren’t necessary, aim to expose at least 1 inch of lead.
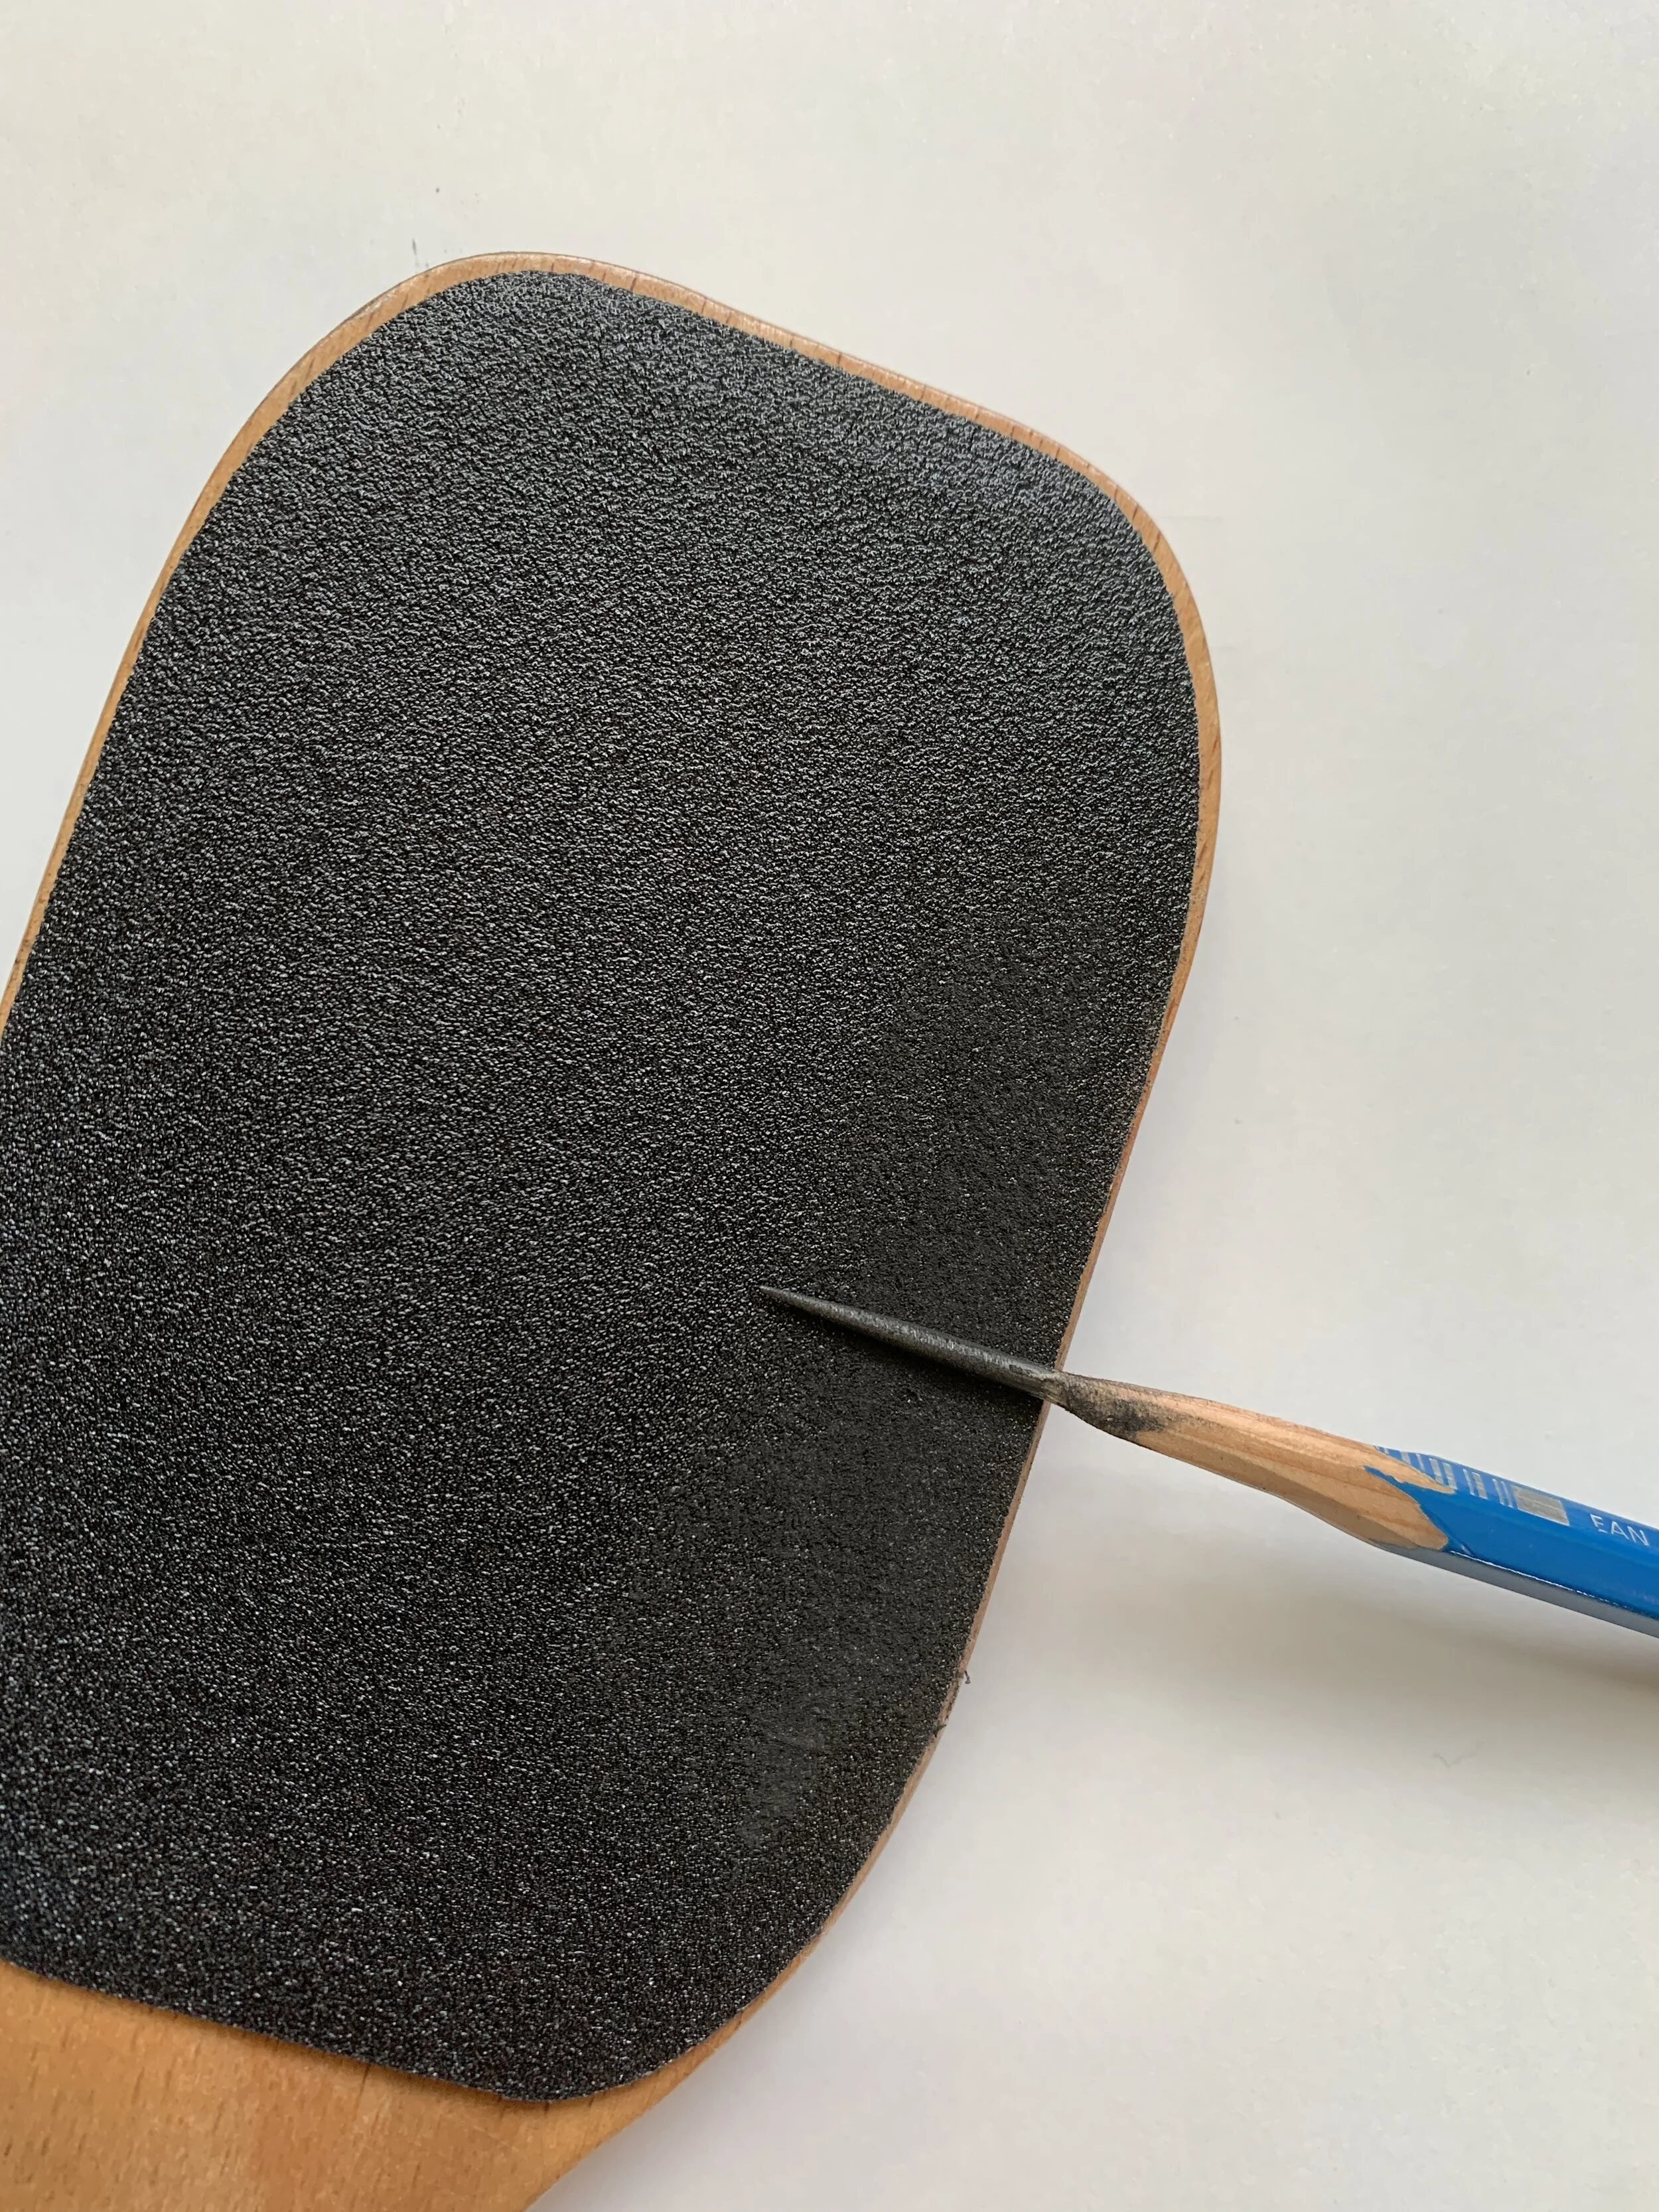
The goal is to always have a needle-sharp tip for maximum drawing efficiency. A sharp point allows for finer details and darker lines without damaging the paper.
If the tip is too short, the lead will wear down quickly, requiring frequent sharpening.
A needle-sharp pencil also ensures that you can draw darker lines without causing any damage to the paper surface.
See the video below for a step-by-step guide on how to sharpen your pencil properly.
Types of Erasers
The kneaded erasers are perfect for drawing because they can be molded into different shapes and lift lead off the paper without damaging the surface. They offer a gentle erasing effect, which is less likely to erase too much of your drawing.
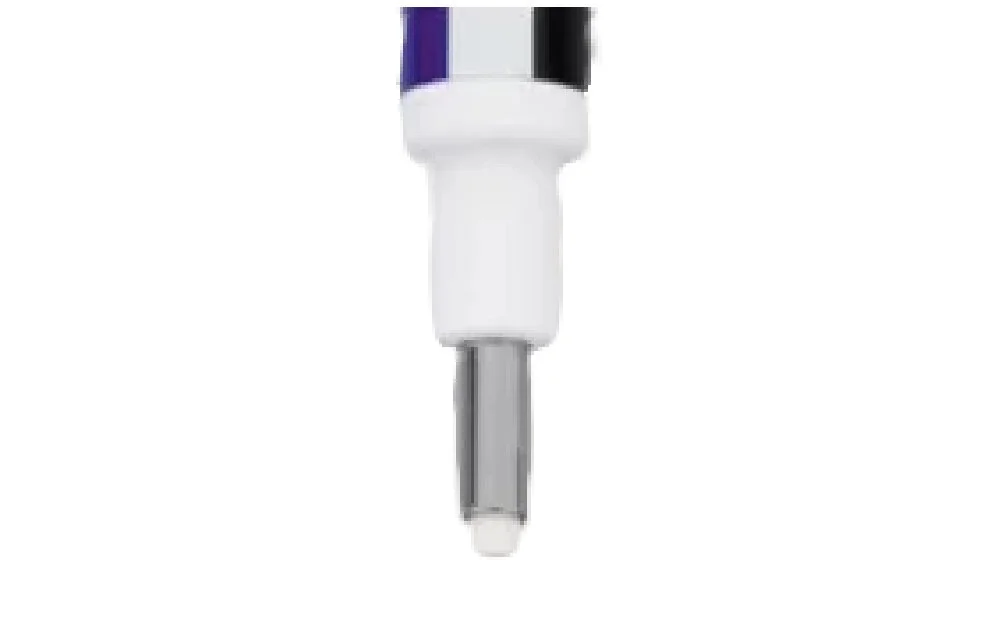
The pen eraser are great for pinpoint erasing in small areas.
Wood Board or Easel: Why Not a Desk?
Avoid laying your drawing paper flat on your desk, as this can cause distortion. Instead, use an adjustable wooden drawing board or an easel for better control.
You can secure your paper using artist tape on the board. If you're unsure whether to continue drawing or not, a sketchbook is a great starting point.
Other Materials
Container
A tray or jar to store pencil shavings and scraps is useful. You can also use the leftover lead particles for quick middle-value tonal exercises in your sketchbook.
Pencil Holder
This will extend the life of your shortened pencils, allowing you to use them longer.
Fixative
To protect your artwork, spray fixative over your finished pencil drawing. You may not need it initially, but it's helpful for preserving your work later.
The Way to Hold a Pencil
Unlike holding a pencil for writing, I recommend holding it more like you would an oil paintbrush: place it in your fingers, with your palm facing up, and lightly press it with your thumb. This grip gives you more control and fluidity.
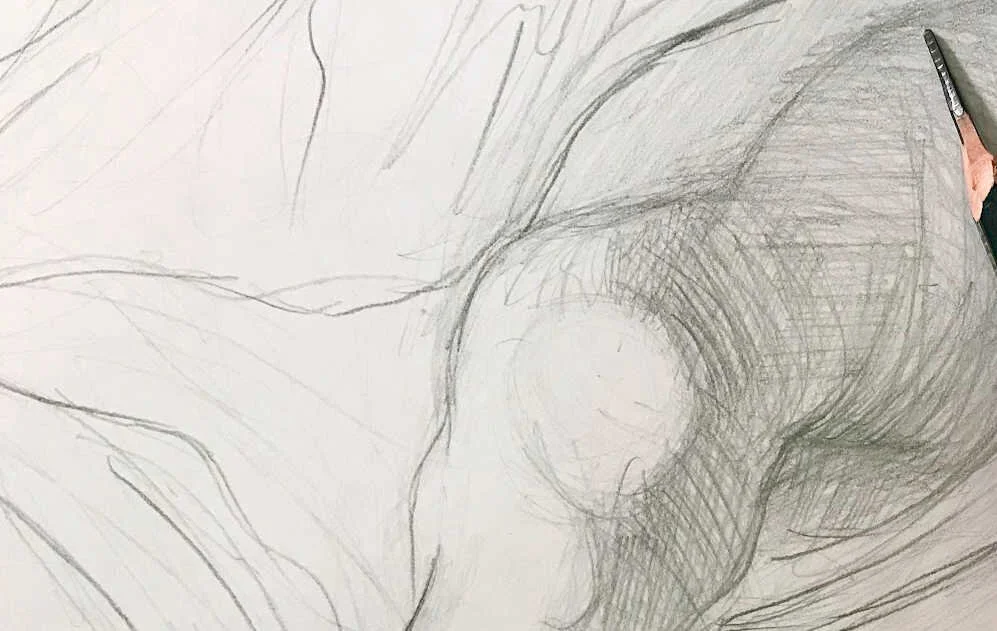
The Basics
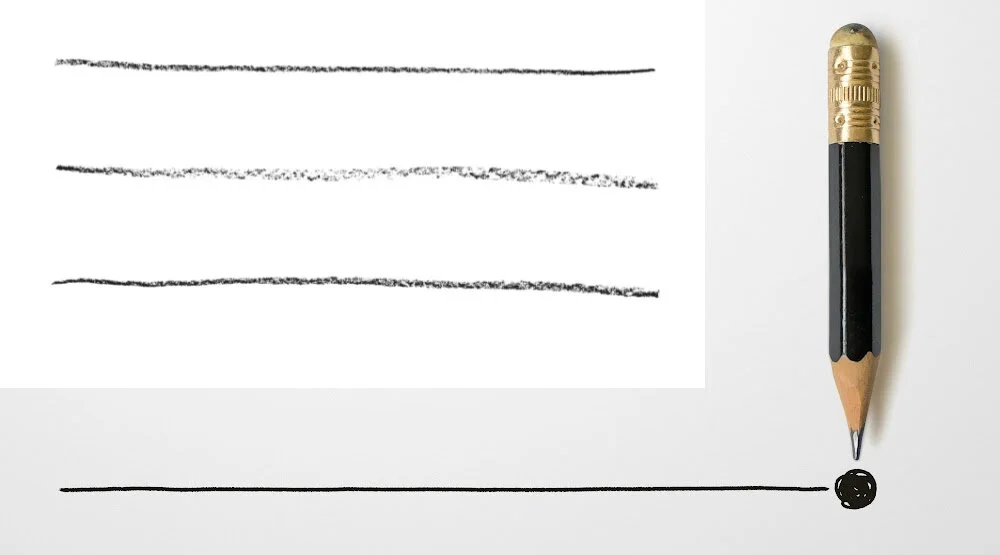
Practice line
It may sound simple, but drawing straight lines can be difficult without the support of your arm and elbow on a desk. To start, practice by drawing several lines lightly and erasing the unnecessary ones.
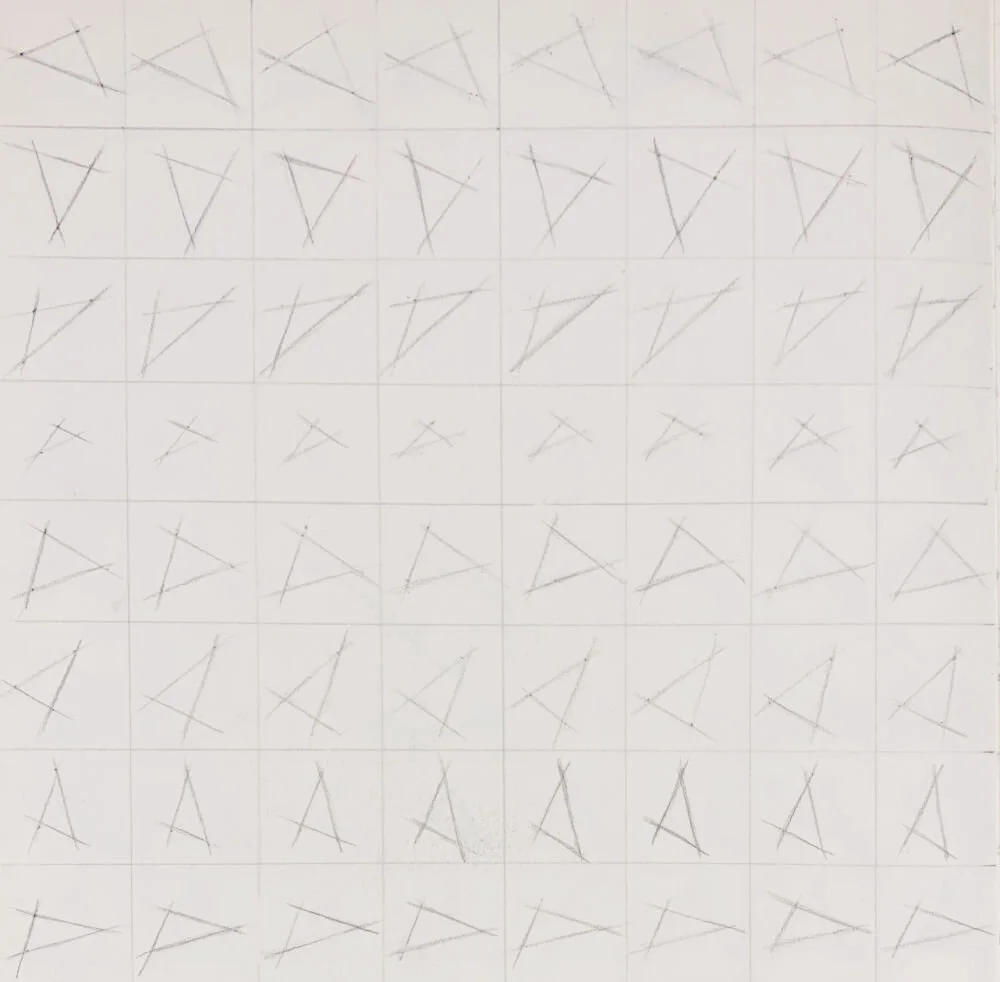
Practice shape
RFocus on finding shapes in the objects you want to draw. Even for round objects, draw straight lines around them first. This is because the human eye isn't great at judging curves, but straight lines offer much more accuracy.

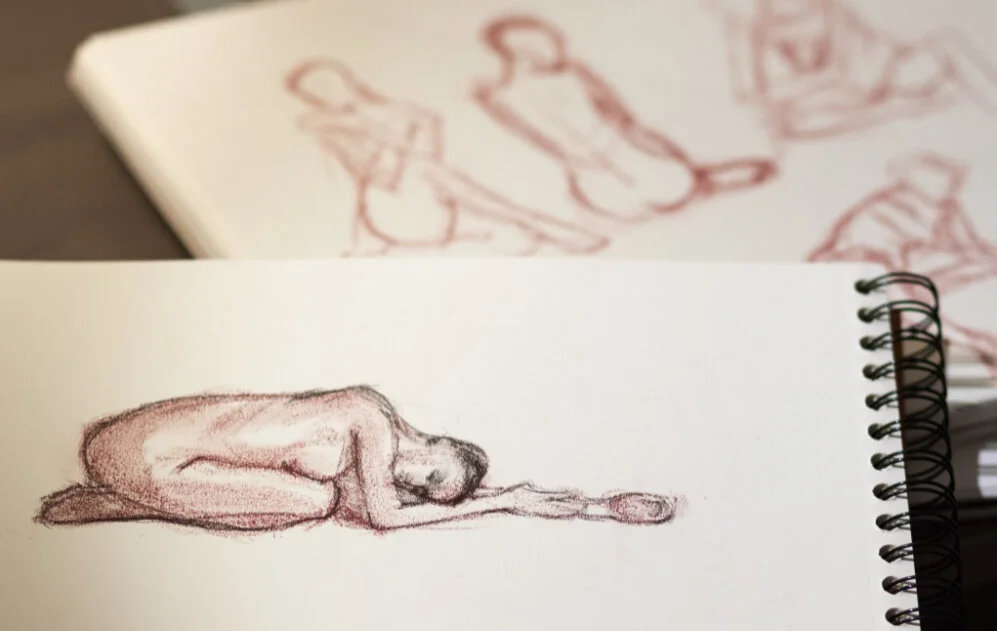
Drawing Homework
Draw 30 straight lines and curves every day.
Randomly place three dots on your sketchbook and connect them with lines.
Copy the triangle you just created and draw an envelope around your object.
Classical Drawing Keypoints
Avoid drawing directly on your desk to prevent distortion.
Always sharpen your pencil to a needle point for precision.
Hold your pencil like an oil paintbrush for better control.
Remember, consistency is key! Practice daily, and over time, you’ll see your skills improve.